Definition
The Blocked-Out Nights Configuration allows you to stop selling specific dates only to selected channels, without closing the general calendar.
This is particularly useful when, for example, you are receiving many reservations for a specific period from your own website and therefore you wish to close the remaining available dates of that period in the other channels, in order to keep selling those only from your own website.
How to Navigate

From the Header, click on the Gear icon, and then on Manage Configurations.
Go to the Channels tab and click on Blocked-Out Nights
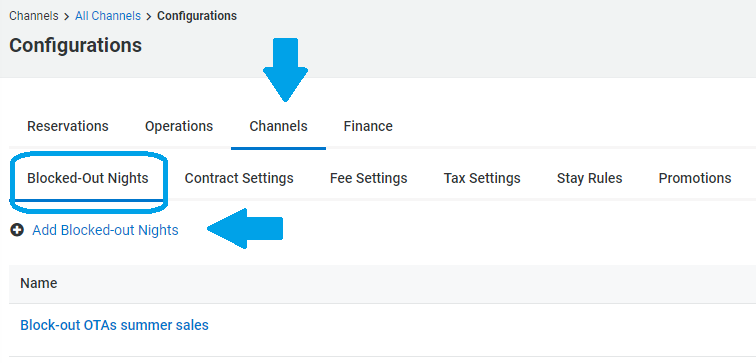
Here you have the option to create new Blocked-out Nights Configurations by clicking on Add Blocked-out Nights, and below the list of the already created Configurations, which can be edited.
How to Create a configuration
By clicking on "Add Blocked-out Nights", you will be re-directed to the creation page:
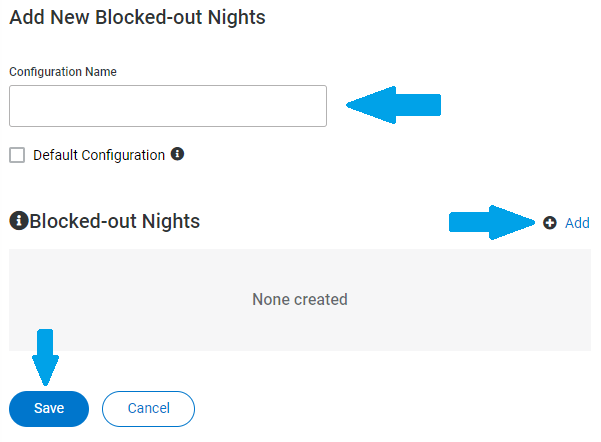
- Give a Name to the configuration
- if you wish to have this configuration automatically applied to future new listings, select "Default Configuration"
- Click on "Add" to insert the dates you wish to block
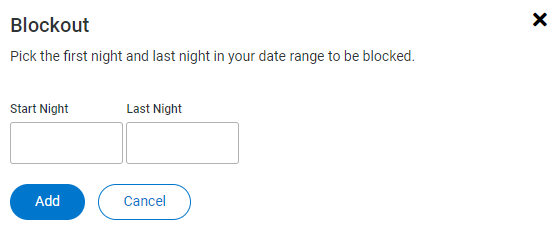
- Add the "Start Night" and the "Last Night" in the designated fields and click on Add
- if you wish to add more dates periods, repeat the step above
- Click on Save
How to Edit a configuration
By clicking on the name of an already created Blocked-Out Nights configuration, the Edit page will open and you can:

- Clone an existing blocked-out nights setting, using the "Clone" button at the top right side of the page
- Delete a Blocked-out nights setting, using the "Delete" button at the top right side of the page (only if it's not assigned to any listing)
- Add or change the configuration name
- Set the configuration as Default, by selecting the Checkbox "Default Configuration"
- Add New Blocked-out dates, by clicking on "+Add" next to the dates' table
- Edit Blocked-out dates already set, by clicking on "Edit" next to the dates.
- Delete Blocked-out dates already set, by clicking on "Delete" next to the dates.
- Save the setting or the changes applied, using the "Save" button below